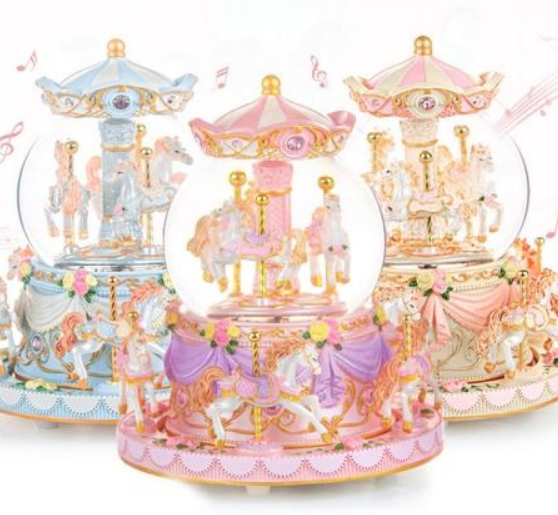
Christmas is just around the corner, so if you don't want to go out and gather, make simple and beautiful Christmas decorations at home with your kids. For example, the custom snow globes is as good as the custom snow globes.
1. Find a glass jar with a tight lid
picture
Any size will do, as long as you have the appropriate size of decorations.
Condiment jars and baby food jars are good choices. Wash the jars inside and out.
If the label is difficult to remove, wipe it with hot, soapy water, then use a plastic card or knife to scrape it off and blow dry.
2. Selection of decorations
picture
Small children's toys, winter-themed figurines or cake ornaments (snowmen, Santa and Christmas trees) from thrift and craft stores are good choices.
Make decorations plastic or ceramic, as other materials (such as metal) may begin to rust when submerged in water
If you don't bother, you can make your own figurines out of clay.
The process is: buy clay - knead molding - bake in the oven - brush with waterproof paint

3. Create a scenario
picture
Coat the inside of the lid with a layer of hot glue, super glue, epoxy resin, and 502 glue.
You can start by sanding the lid with some sandpaper. A rough surface will help the glue adhere better.
Keep in mind that the ornament needs to be the right size for the jar opening and placed in the center, so it should not be too big only.
When done, set the lid aside to dry the glue before you can submerge it.
4. Fill a jar with water, glycerin, and glitter.
picture
Fill your jar with water and add 2 to 3 teaspoons of glycerin (which can be found in the baking section of the supermarket).
Glycerin "thickens" the water, causing the flash to fall more slowly. A similar effect can be achieved using BB oil.
Next, add your favorite atmosphere group.
How much depends on the size of the jar and personal preference.
Make sure you fill the bottom of the bottle, but don't overdo it because it will cover up the decorations!
Usually winter or Christmas will choose silver and gold sequins, or your favorite color.
If you don't have glitter on hand, use crushed eggshells.
5. Close the lid carefully
picture
Close the lid and check for leaks.
If you're worried about loosening the lid, you can apply a circle of glue around the rim of the jar before closing it.
Or wrap some colored tape around the lid.
Before sealing, it is necessary to confirm whether the decoration is loose and whether the water and flash are enough!
6. Decorate the lid (optional).
picture
A little decoration on the lid would be perfect!
Examples include painting it bright colors, wrapping it in decorative ribbon, covering it with felt, or affixing holiday berries, Holly, or jingle bells.
After that, all that's left is to shake your snow globe, watch the sparkling snow, and feel the winter Christmas atmosphere
Matters needing attention
1. Apart from glitter, snowflakes can also be small shells and grit
2. Instead of using jars, you can also use small glass or plastic vials/containers to make snow globe necklaces!
3. To make the snow globe fun, try adding a few drops of food coloring to the water before adding glitter and beads.
4. If you choose to dye the water with food coloring, use a light color. Blue, green, or black/navy will make the water cloudy.
Summary of materials:
1. Glass jar (seasoning jar, baby food jar)
2. Decorations (small children's toys, winter themed figurines or cake decorations)
3, glue (hot glue, super glue, epoxy resin, 502 glue)
4. Water
5. Glycerin (BB oil)
6. Glitter (shell, gravel, crushed eggshell)
7. Sandpaper (optional)
8. Tape for lid decoration (optional)
9. Food Coloring (optional)